
CC-Switch Setup
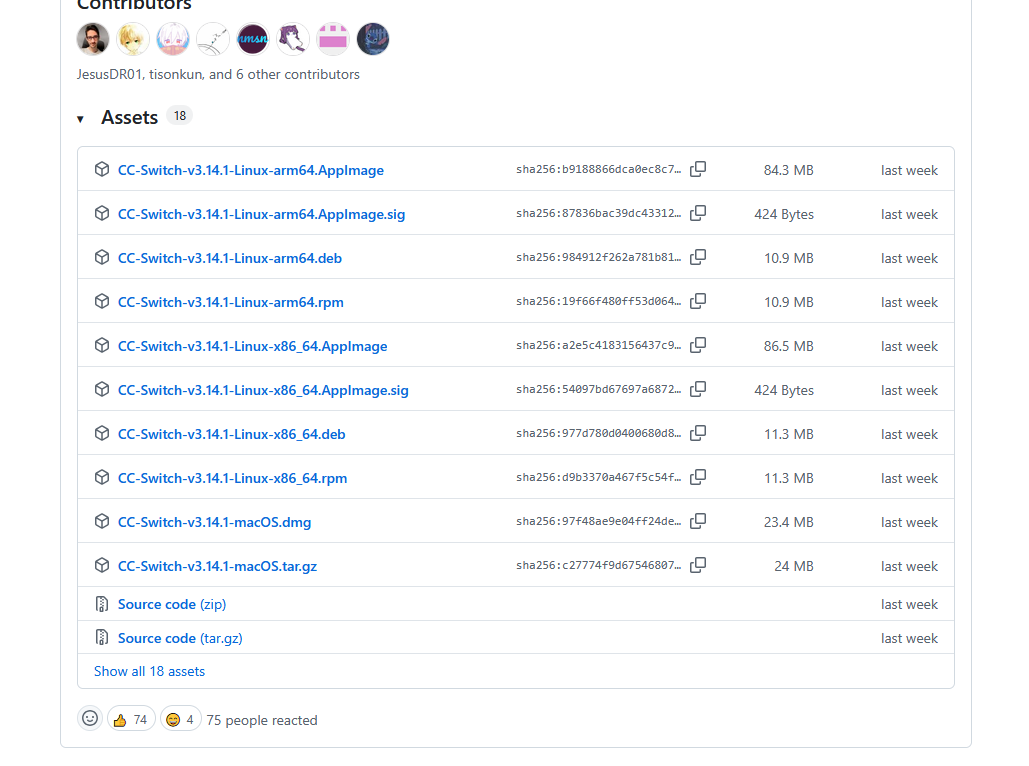
Download: https://github.com/farion1231/cc-switch/releases
Download & Install
On the Releases page, pick the package for your system.
Windows
Download the .exe installer, double-click it, and follow the wizard.
macOS
Install via Homebrew:
# Add the tap
brew tap farion1231/ccswitch

# Install CC-Switch
brew install --cask cc-switch
Once installed, find CC-Switch in Launchpad or the Applications folder and launch it.
Linux
Download and install the .deb package:
# Download the .deb (replace x.x.x with the actual version)
wget https://github.com/farion1231/cc-switch/releases/latest/download/cc-switch_x.x.x_amd64.deb

# Install
sudo dpkg -i cc-switch_x.x.x_amd64.deb
TIP
Check the exact version on the Releases page and replace x.x.x in the command with the latest version.
Extra Settings
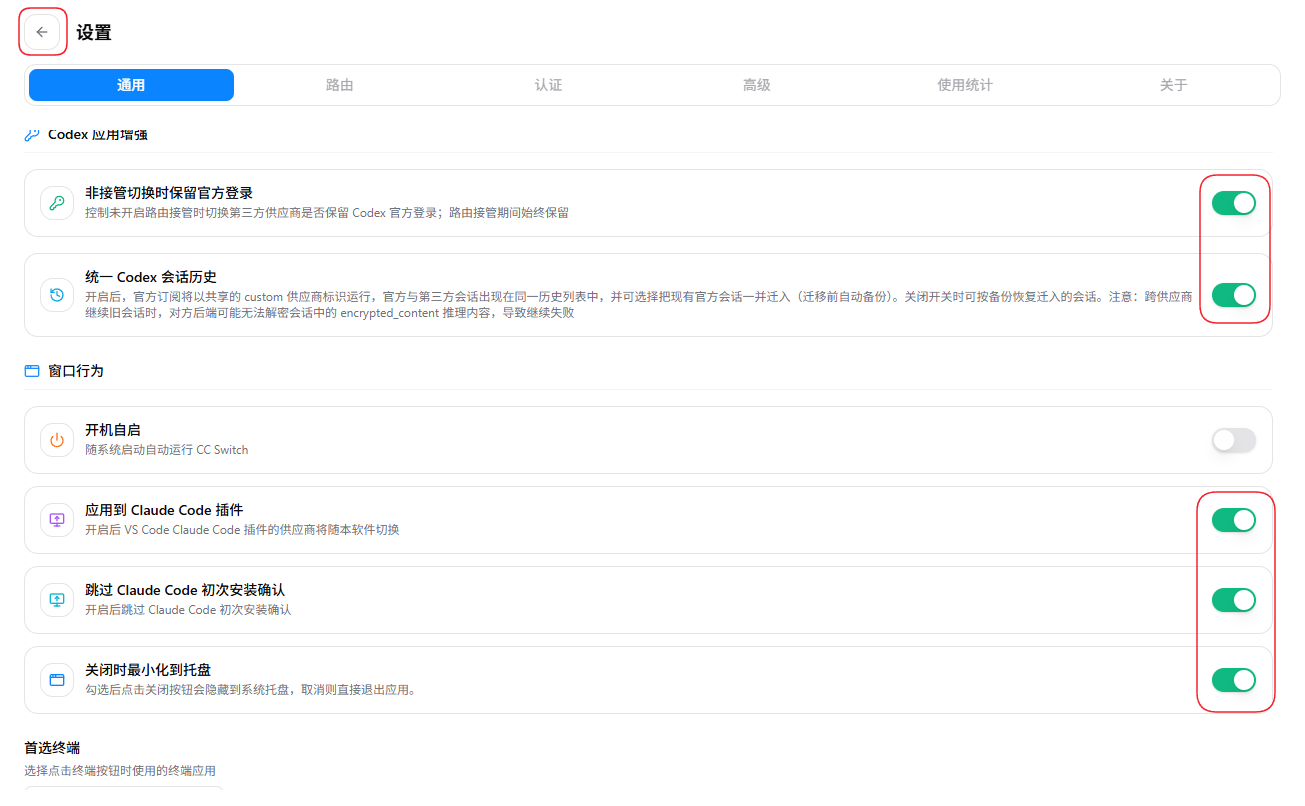
It's recommended to enable all four of these:
- Apply to the ClaudeCode plugin: lets the Claude Code plugin inside VSCode/JetBrains and other IDEs read the current provider automatically
- Skip Claude Code first-run confirmation: no login/authorization prompt the first time you run
claude - Keep the official login when switching to a third party: once enabled, you can keep using the Codex app's official plugin, remote control from your phone, and similar features while using a third-party API
- Unify Codex session history: once enabled, your official subscription runs under a shared
customprovider identity, so official and third-party sessions appear in the same history list. You can optionally migrate existing official sessions into it (an automatic backup is made before migration). Turning the switch off lets you restore the migrated sessions from that backup.
Note
When continuing an old session across providers, the other backend may be unable to decrypt the encrypted_content reasoning in the session, which can cause the continuation to fail.
Switch / Manage Providers
Click any provider on the main screen to make it active — no need to restart Claude Code (it takes effect the next time you run claude).
Providers can be edited, deleted, and reordered, making it easy to switch between the official Anthropic endpoint, third-party proxies, and a local proxy.