Claude Desktop Setup Guide
TIP
For downloading and installing CC Switch, see CC-Switch Setup.
1. Add a provider
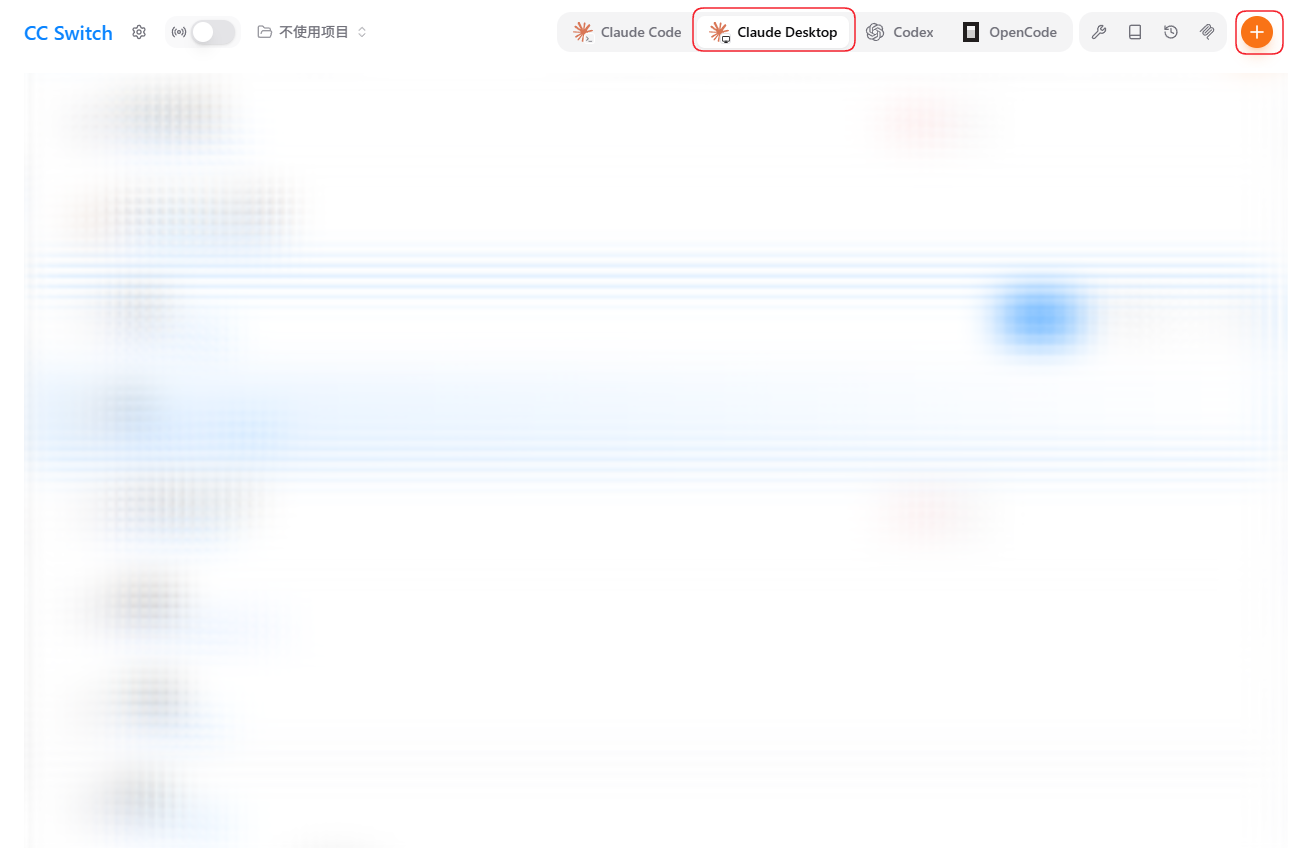
Open CC Switch, switch to the Claude Desktop tab at the top, and click the orange "+" in the top-right.
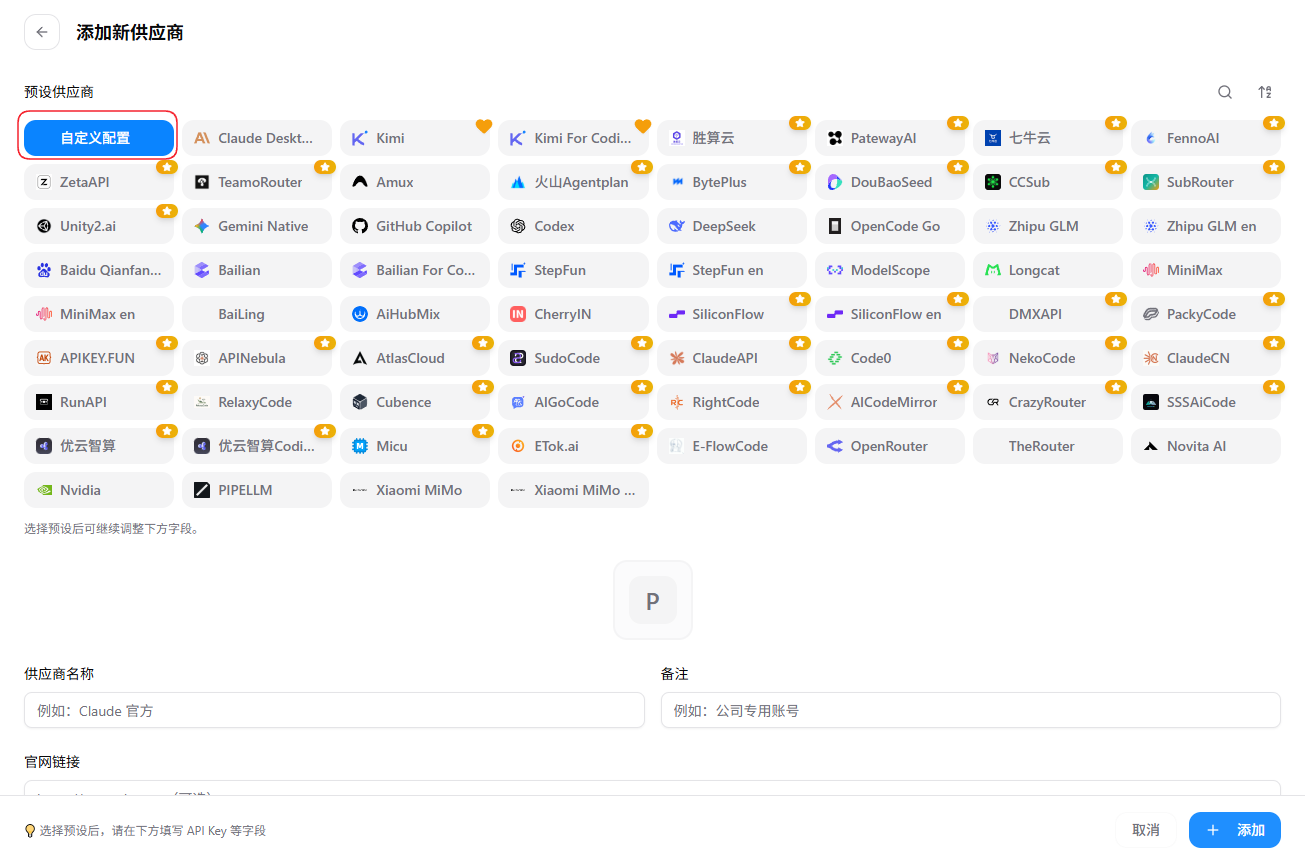
On the "Add Provider" page, click "Custom configuration".
2. Fill in the details
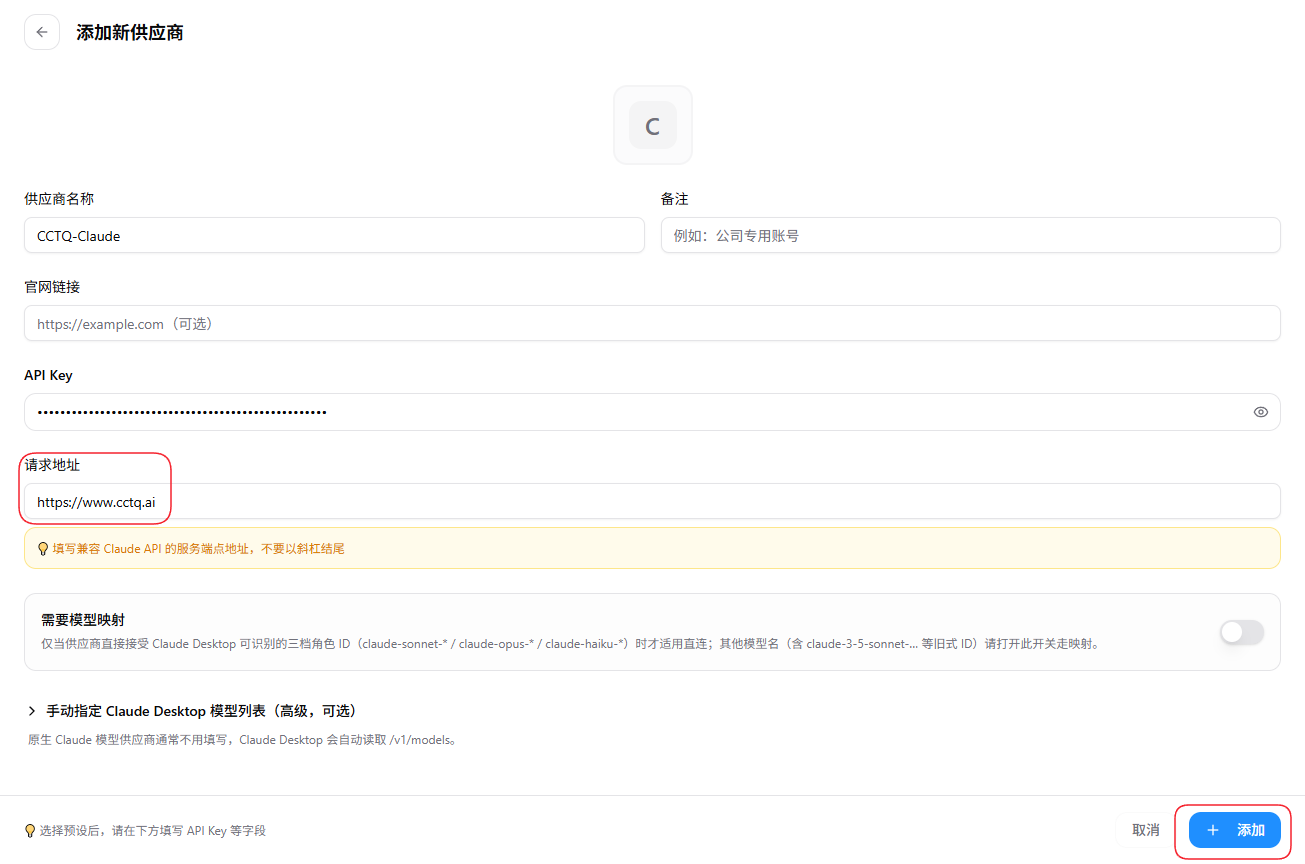
- Provider name: anything you like, e.g.
CCTQ-Claude - API Key: your token key
- Request URL: enter
https://www.cctq.ai(no trailing slash)
TIP
If the model name you use is not one of the three role IDs claude-sonnet-* / claude-opus-* / claude-haiku-*, turn on the "Model mapping" switch.
Click "+ Add" in the bottom-right when done.
3. Enable the provider
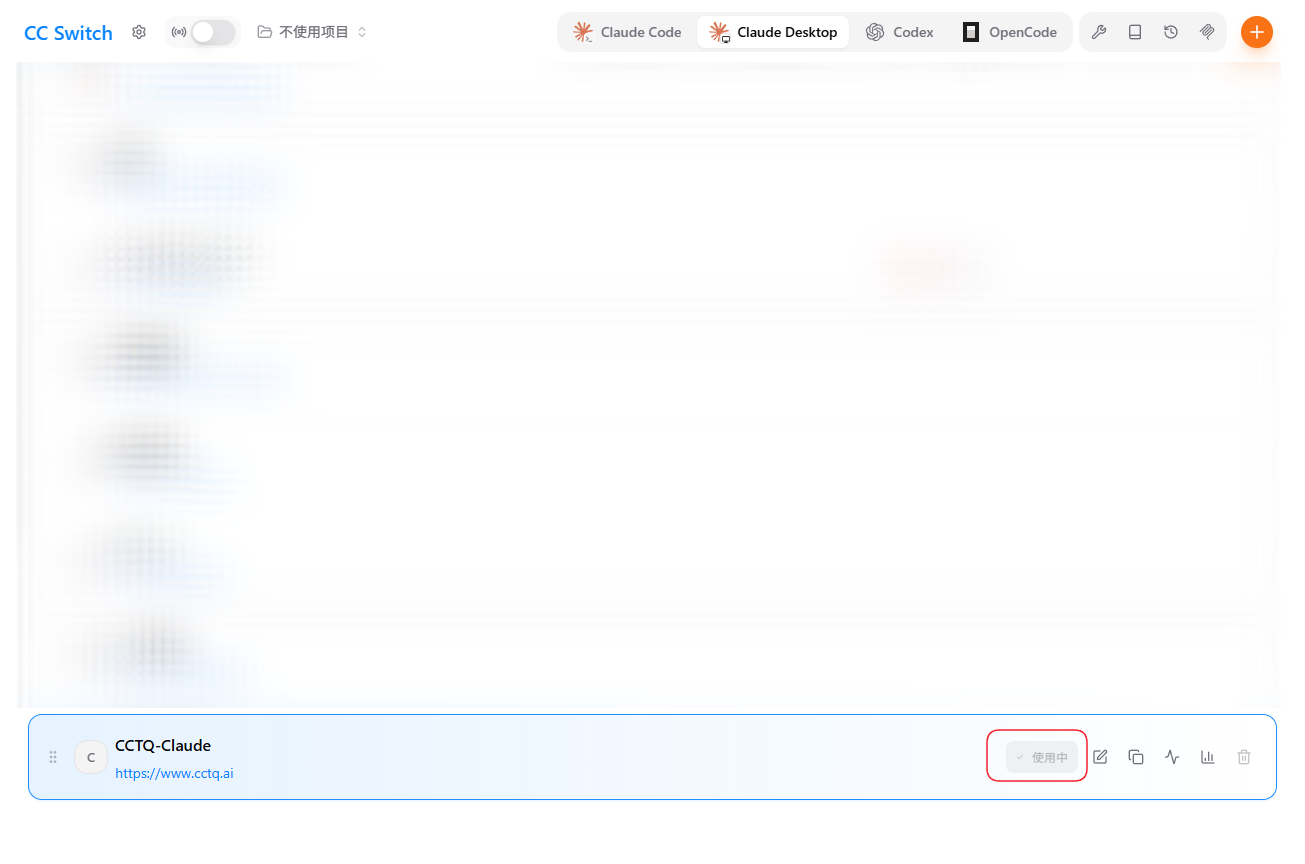
Back in the list, click "Enable" on the CCTQ-Claude card. When the button shows "In use", it's enabled.
4. Verify
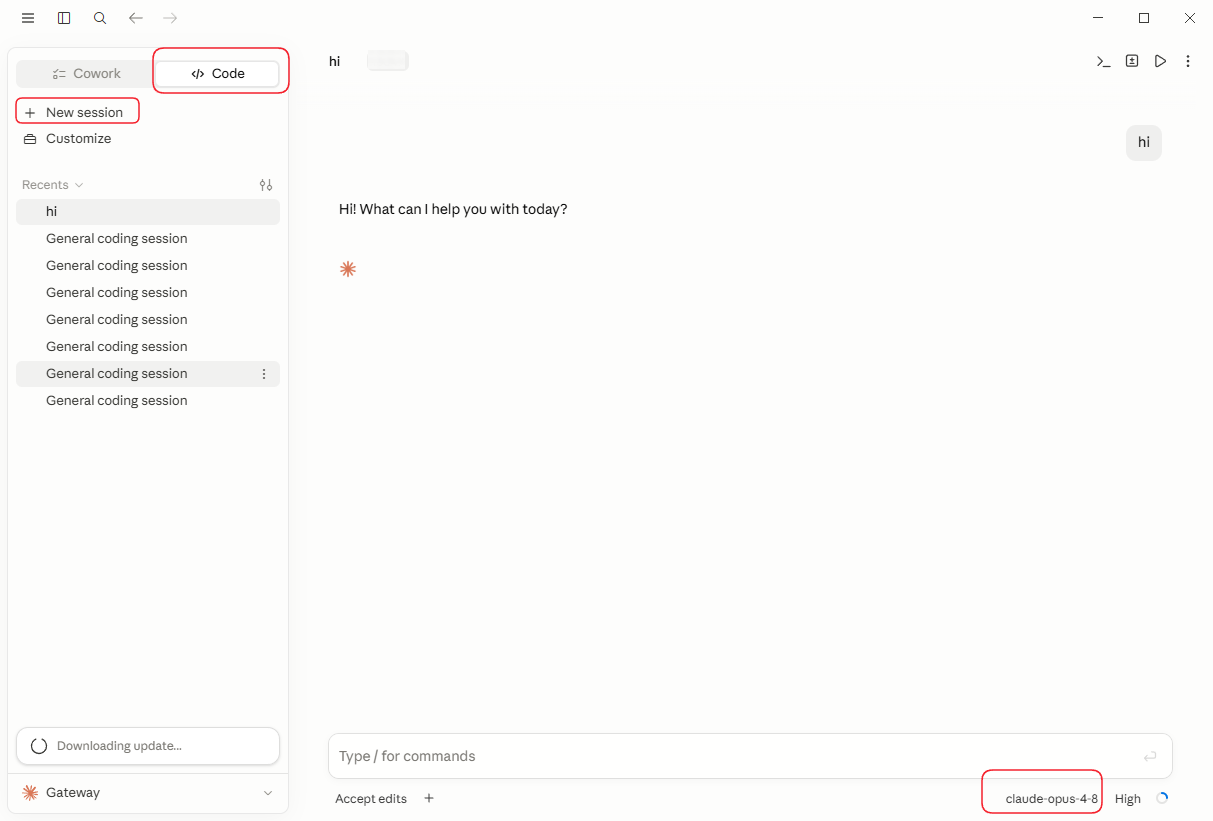
Open Claude Desktop, switch to the Code tab, click "New session", pick a model in the bottom-right (e.g. claude-opus-4-8), and send any message (e.g. hi) — a normal reply means the setup succeeded.